Having a properly maintained motorcycle isn’t just about keeping your bike shiny and looking new; it’s about safety. Taking your bike into the shop for every little thing gets expensive fast, and honestly? Half the time,you could have handled it yourself. Don’t ignore problems until something breaks. This walkthrough of a 60-minute tune-up will have your bike in tip-top condition without breaking the bank.
What You’ll Need
You don’t need a garage full of fancy tools. Here’s what actually matters: a basic socket set, a few screwdrivers, a tire pressure gauge, some clean rags, chain lube, and decent lighting so you can see what you’re doing. Maybe grab some oil if you’re running low. That’s it.
Just like how preventative maintenance can improve the longevity of your car, this hour will save you time and money down the road.
Pro tip: Lay everything out before you start. Nothing kills momentum like hunting for a 10 mm socket while your hands are dirty.
The 60-Minute Battle Plan

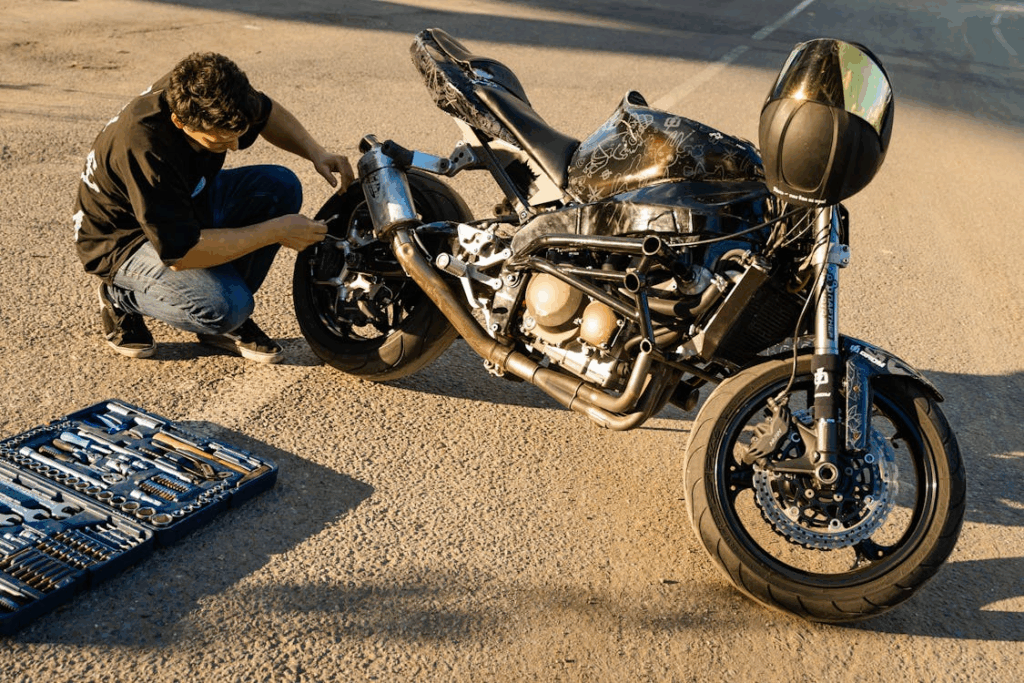
First things first – let that engine cool down if you just rode in. Hot metal burns, and nobody wants to explain those marks. Get the bike on level ground and use your center stand if you’ve got one. Trust me, trying to work on a bike that’s leaning over gets old real quick.
My plan is to start the inspection/tune-up from the ground up, and I do it in the same order every time to make sure I don’t gloss over anything. But you’ll want to find what works for you. So, starting with what touches the ground (the tires), I work my way up. This guide will start with the tires, then the chain, the fluid levels, the battery and electrical system, and then the air filter.
Read: Top Mistakes to Avoid After a Car Accident and How They Hurt Your Case
Tire Inspection and Pressure (10 minutes)
The tires are literally the only thing between you and the asphalt, so we’re starting here. Check the pressure with a proper gauge – not one of those cheap ones that lie to you. Most bikes want somewhere between 30 and 40 PSI, but check your manual because every bike’s different.
Here’s the thing about tire pressure: check it when the tires are cold. After riding, the tires heat up, which increases air pressure inside. This then throws off the reading, and you’ll end up with the wrong pressure.
While you’re checking the pressure, look for uneven wear patterns. If one side’s more worn than the other, or there are flat spots, something’s not right. It could be alignment, could be suspension, or could be pressure. Either way, it needs attention.
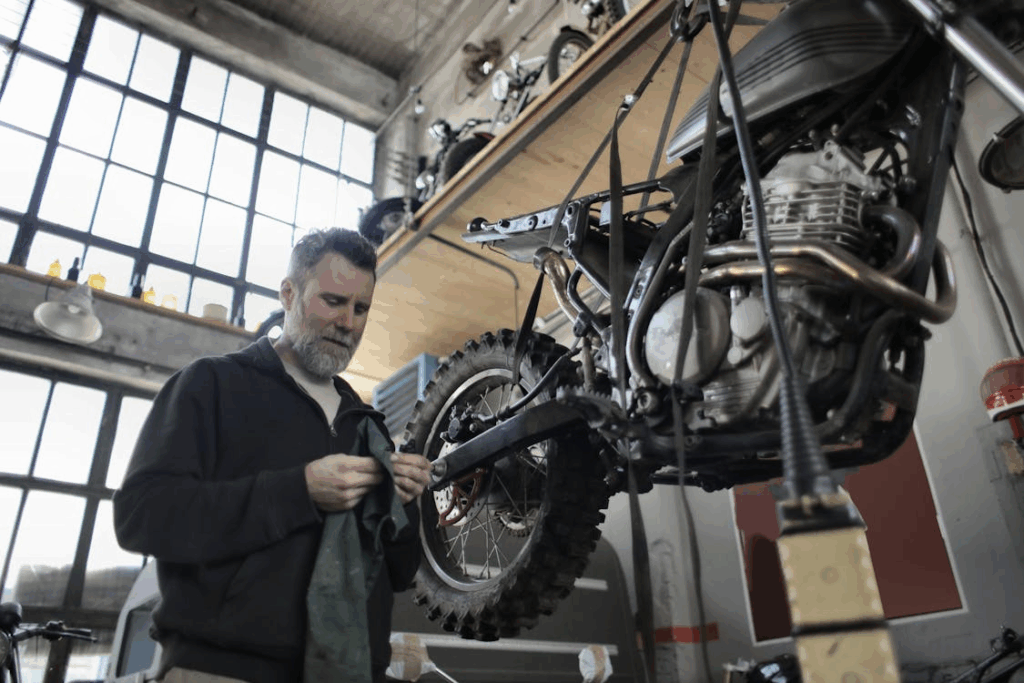
Chain and Sprocket Maintenance (15 minutes)
Now check your chain tension. Most bikes want around 20-30 mm of play at the tightest spot, but your manual will tell you exactly. Too tight and you’ll bind up the transmission. Too loose, and the chain might jump off or slap around.
Look at those sprocket teeth, too. If they’re starting to look like shark fins instead of normal teeth, they’re done. Worn sprockets will chew up a new chain in no time, so replace them together. Clean the chain with proper chain cleaner, and then lube it up while rotating the rear wheel.
Fluid Level Checks (10 minutes)
Oil first. Use the dipstick or sight glass when the bike is sitting upright and level. The oil should be between the min and max marks. If it’s black and gritty, change it soon. If it’s low, add some before you ride anywhere.
Brake fluid comes next, and this stuff is serious business. Check both front and rear reservoirs. The fluid should look clear or maybe light amber. If it’s dark or has crud floating in it, get it changed professionally. Also, make sure you’re above the minimum line because your brakes don’t work without fluid.
Got a liquid-cooled bike? Check the coolant overflow tank when everything’s cold.
Battery and Electrical System (8 minutes)
Dead batteries are ride killers, so let’s avoid that headache. Check the terminals for that white, crusty corrosion. If you see any, clean it off with a wire brush and some baking soda mixed with water.
Test your lights, signals, horn, and everything that uses power. Burned-out bulbs are a safety hazard and cop magnets. Make sure your kill switch actually kills the engine, too.
Air Filter and Intake (7 minutes)
Pop off the air filter cover and take a look. A dirty air filter is like trying to breathe through a pillow. Your engine will suffer, power will drop, and fuel economy will fall off a cliff.
Paper air filters get replaced when dirty. The foam or gauze filters can usually be cleaned and re-oiled based on the manufacturer’s instructions. While you’re checking out the air filter, make sure there isn’t any water, oil, or leaves in the housing.
Final Safety Checks (10 minutes)
Test those brakes. Squeeze your levers, press on the brake pedal, and notice how it feels. You’re looking for a solid and responsive reaction. If you’re noticing sponginess or mushiness during the brake application, have the brakes checked by a professional. Don’t take any chances with your brakes.
Give the bike a walkaround and check all the bolts that may have wiggled loose from vibration. Check all the cables and hoses for fraying, burn marks, holes, or anything else out of the ordinary.
Quick Systems Check
Now it’s time to fire the bike up. Listen while the engine comes to a comfortable idle, which should be a constant purring. Give the throttle a quick turn and notice the response because it should be crisp – or as crisp as possible if it’s an older bike.
Wrapping Up
It’s recommended to perform this tune-up once a month or every thousand miles and to keep a logbook with your findings. It can help you to track any deteriorating or worsening issues. Performing this tune-up once a month will let you know your bike inside and out while also keeping you safe.
It’s always helpful to keep extra parts on hand for quick fixes, but make sure they’re compatible with your bike. So if you’ve got a Harley, have a couple of basic Harley Davidson parts in your garage for any potential minor issues you notice during your tune-up. For a Honda, have Honda parts, and so on. Being proactive with your bike maintenance will help keep your bike reliable and safe while also making you a better rider. And that’s worth way more than the time you’ll spend with a wrench in your hand.